Start by checking that you have the correct part, drawing revision, material and sample quantity. A sample can look finished while still differing from the approved design or needing a process adjustment. Use the T1 review to create a shared, written decision about what passed, what needs correction and what will be checked in the next round.
1. Prepare the review before opening the box
Gather the latest released drawing or CAD reference, the agreed material and color specification, assembly parts, and any earlier DFM or sample comments. Confirm the revision and sample identification with the shipment documents. If several cavities, tools or colors are involved, label which sample came from each source where that information is available.
Choose the requirements that matter to the part's purpose. A dimension that controls a mating interface may deserve a recorded measurement; a non-functional surface may be judged against an approved appearance sample or written standard. Do not invent acceptance limits after the parts arrive. If a tolerance, color reference or cosmetic boundary was never agreed, record it as an open decision.
2. Review the part in a consistent order
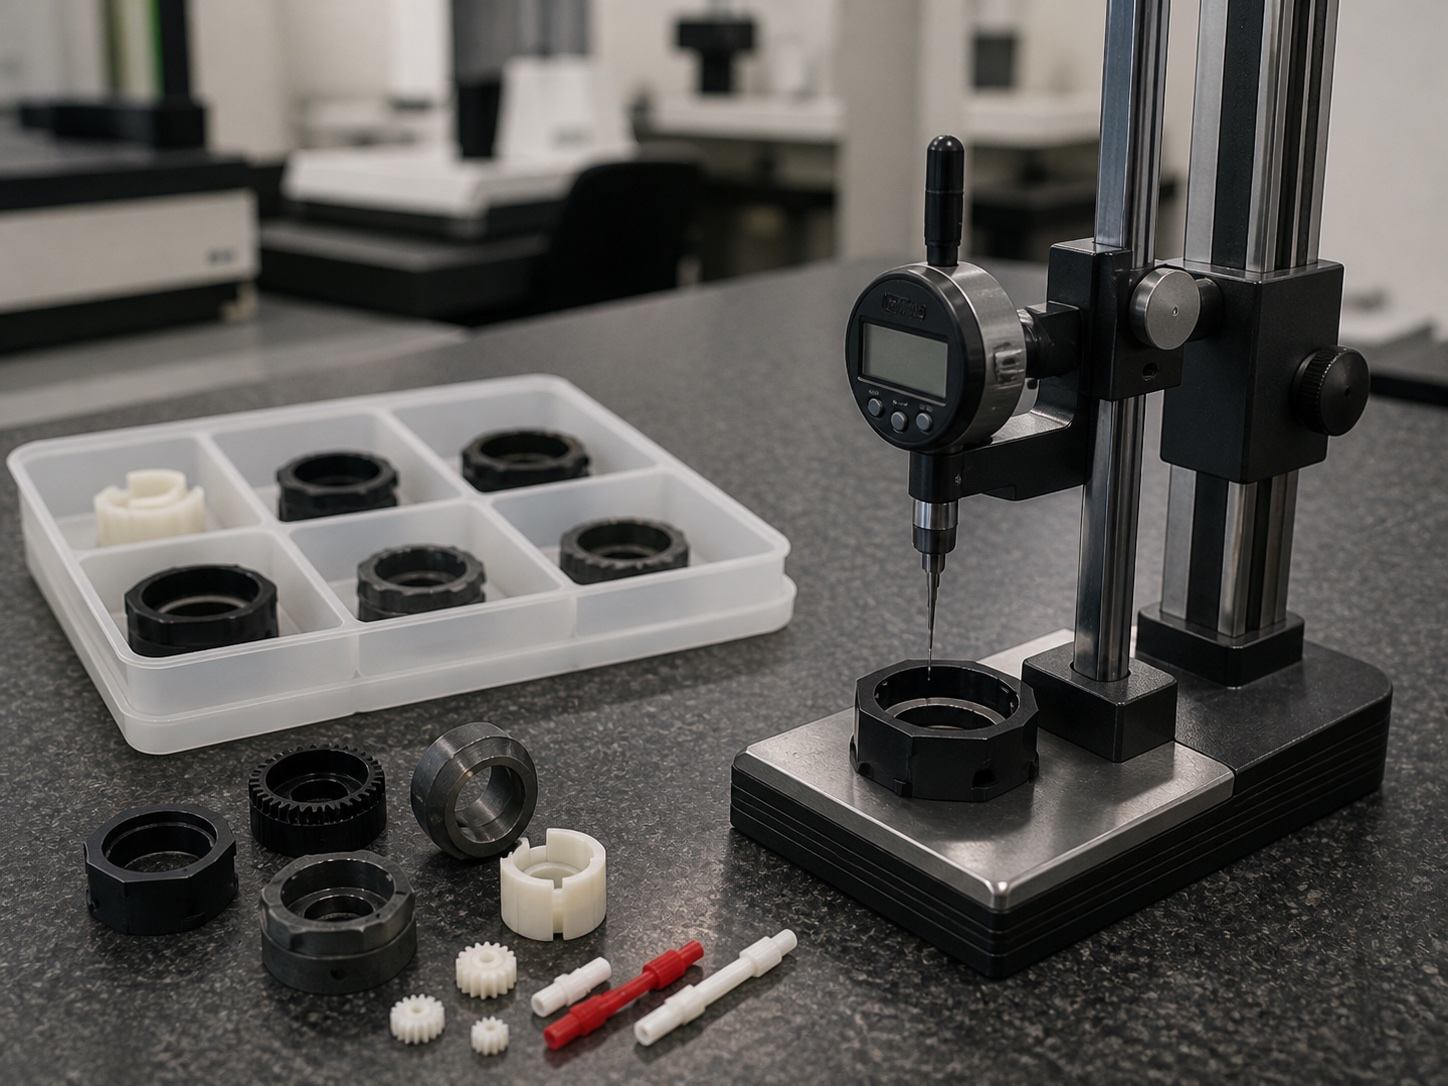
Move from identification to function, then dimensions, appearance and assembly. Check the same critical features on the samples selected for review, and note the measurement method and reference. For formal dimensional approval, agree in advance who measures which features and what report is needed. An inspection report should match the drawing revision being evaluated.
| Review area | What to check | What to record |
|---|---|---|
| Identity | Part number, revision, resin, color, cavity or sample labels | Sample IDs and any mismatches |
| Dimensions | Critical dimensions, holes, mating surfaces and agreed tolerances | Measured value, tool or report, feature and drawing reference |
| Fit | Interfaces with mating parts, inserts, clips and fasteners | Where fit succeeds or interferes |
| Function | Movement, retention, sealing, load or other defined use | Test setup, result and repeatable conditions |
| Appearance | Color, texture, flash, sink, weld lines, gate vestige and visible marks | Location, lighting/reference and acceptance decision |
| Assembly | Part orientation, sequence, access and finished assembly | Assembly steps and observed issues |
| Packing | Protection, labels and identification of samples | Damage, missing items and packing changes |
The checklist is a starting point. The right criteria depend on the part function, approved drawing and intended market. Avoid treating a visual review as a dimensional report or assuming a handful of samples proves long-term process capability.
3. Turn observations into actionable feedback
Photograph the issue with a scale or clear reference when useful. Identify the part revision, sample ID, feature location, observed condition and requested next action. Separate a design change from a tooling correction or process adjustment; those can affect ownership of the revision, cost and timing differently.
- Pass: the feature meets the agreed requirement; reference the criterion checked.
- Needs clarification: the requirement is missing or ambiguous; agree a measurable standard before judging.
- Revise and resample: describe the specific mismatch and what evidence is needed in the next sample round.
Send one consolidated feedback record so the manufacturer and buyer are working from the same version. This follows the same preparation logic described in our prototype-to-injection molding guide.
4. Make approval a clear production gate
State whether the sample is approved, approved with listed conditions, or requires another trial. Name the approved part revision, material, color reference and the records used for the decision. If a sample is approved only for fit but appearance or labeling remains open, say so clearly.
Before repeat production, agree which approved sample, drawing and inspection plan act as the reference. Keep the approval record with the project brief and purchase documentation. A T1 sample review does not, by itself, establish that every later production run will match; any ongoing inspection or process controls should be agreed for the specific program.
Frequently asked questions
What does T1 mean in injection molding?
T1 commonly refers to an initial trial sample made after a mold is available. Exact terminology and what is included vary by supplier, so confirm the sample stage and scope in the quote.
Should I approve a T1 sample immediately?
Approve it only against criteria agreed for that stage. If critical features or requirements remain unresolved, record the open points and agree the next check before production.
What should I measure on a molded sample?
Prioritize dimensions and interfaces that control fit, function, assembly or safety. Use the current drawing and agreed tolerances; ask for an inspection report when the project requires documented measurements.
Can the factory change the tool after T1 feedback?
A tooling change may be one possible response, but first identify whether the issue is design intent, tooling geometry or process setup. Confirm scope, timing and commercial responsibility before work begins.
Talk through the next step
Have a defined product or sample to review?
Share your drawing, sample, project stage and the questions you need to resolve. Galaxy Hong is your U.S.-based point of contact for the CHILLIX conversation.
Talk with Galaxy HongRelated CHILLIX guides
Sources and further reading
External sources describe their own methods or terms. Confirm the requirements for your specific part and project.
Prepared by the CHILLIX editorial team. Project requirements and manufacturing terms vary; confirm details in your project documents.