You do not need every manufacturing decision finalized before starting a supplier conversation. You do need enough evidence to explain the product, the part and the intended production outcome. Clearer inputs lead to a more useful manufacturability review and quotation—and make it easier to identify what still needs to be resolved before tooling begins.
1. Start With What You Already Have
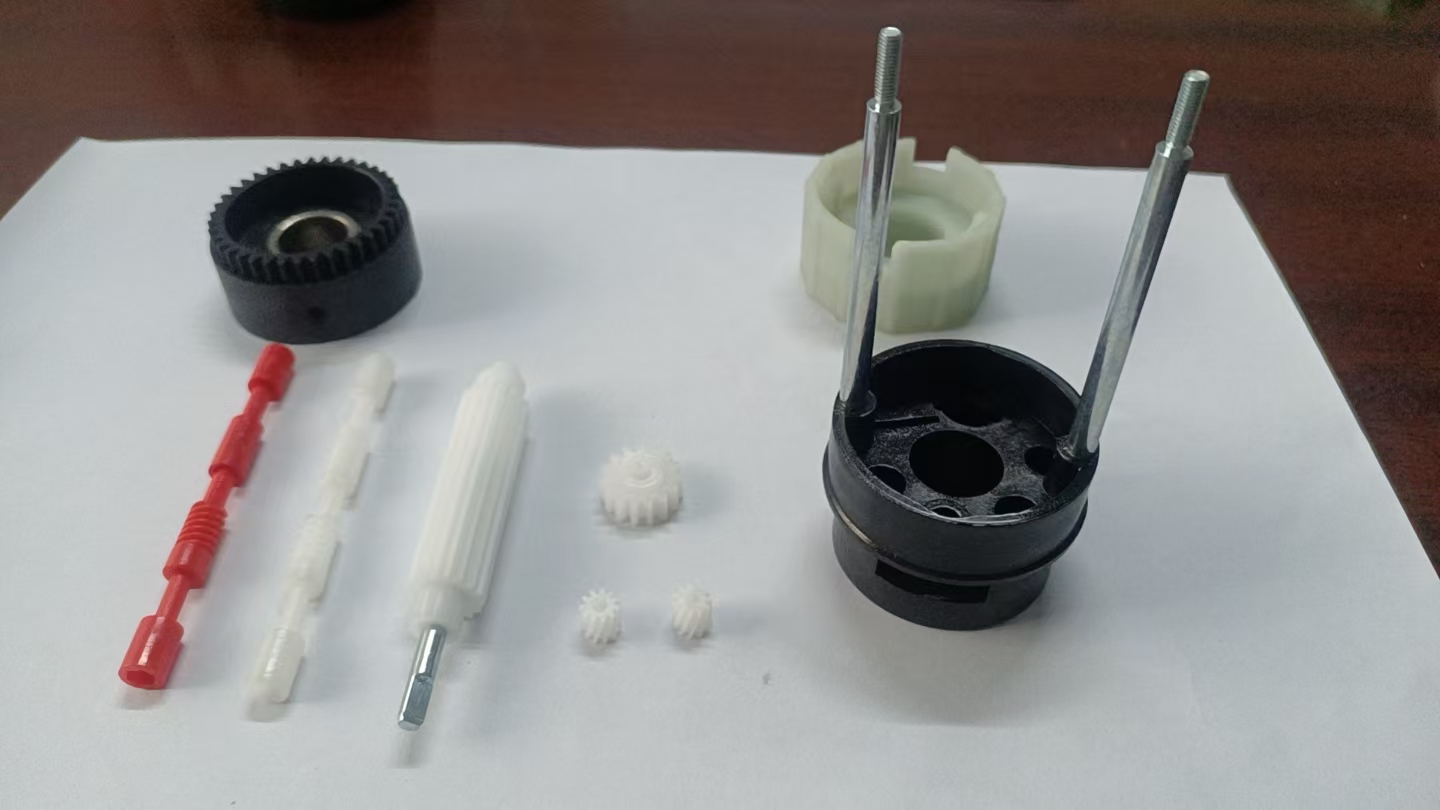
The starting point may be a STEP or other 3D CAD file, a dimensioned drawing, a working prototype, a physical sample, clear photographs, or a functional description. Send the strongest evidence you have rather than waiting to create a perfect package before anyone reviews it.
A clean 3D file and controlled drawing generally allow a more detailed discussion. A prototype or sample can still communicate scale, assembly, touch points and intended use. Photographs are more useful when they show multiple angles, mating parts and a size reference. A written explanation should identify what is fixed, what may change and what the part must accomplish.
For an initial custom injection molding review, incomplete information is not automatically a dead end. It means the first outcome should be a list of missing decisions—not an assumption that the part is ready for tooling.
2. Explain What the Part Actually Needs to Do
Appearance alone does not define a moldable production part. Tell the manufacturing team whether the part is an enclosure, structural component, cosmetic housing, transparent window, flexible seal, snap-fit feature, mating component, or a moving part that interacts with another mechanism.
Describe how it is handled and assembled. Does it protect electronics? Locate another part? Carry a load? Flex repeatedly? Remain clear? Align with a shaft or opening? Snap together once or open repeatedly? These details help identify which features and interfaces deserve the closest review.
If the prototype was made by 3D printing, machining or another process, explain which aspects prove the intended function and which are simply artifacts of that prototype method. The production part may need different wall transitions, fastening details or assembly allowances, subject to project-specific manufacturability review.
3. Material: Helpful to Know, But You Do Not Need to Guess
If the design already specifies a resin, share it. Common discussions may involve materials such as ABS, PC, PP or a flexible material such as TPU, but a familiar material name is not a complete requirement by itself.
If you do not know the exact resin, describe the performance the part needs: rigidity or flexibility, impact behavior, transparency, surface appearance, temperature and environmental exposure, intended use, and any known regulatory or customer requirements. Also identify color expectations and whether recycled content, flame behavior, food contact or another property may be relevant.
Material availability, grade, additives, color and processing behavior should be reviewed for the actual part and application. CHILLIX does not treat an early preference as final resin selection or certification without project-specific confirmation.
4. Identify Critical Dimensions and Interfaces
Not every dimension has equal importance. Mark the features that control whether the product functions or assembles correctly. Typical examples include mating surfaces, snap fits, shafts and openings, alignment features, moving interfaces, sealing areas and assembly fit.
A drawing can distinguish critical dimensions from general geometry and can identify datums, tolerances, texture areas and inspection points where appropriate. If the part must fit an existing component, provide that mating component, its controlled dimensions or a reliable reference file whenever possible.
Explain what a failure would look like. A cover that rocks, a shaft that binds and a cosmetic gap that becomes visible are different problems. This context helps the supplier ask focused questions instead of applying unnecessary precision everywhere.
5. Share a Realistic Initial Quantity
The appropriate first production quantity depends on the part, material, tooling strategy and overall project economics. Sharing a realistic target quantity helps determine the most practical manufacturing route.
Provide an expected first production range and, if known, annual or repeat demand. A pilot order intended to validate assembly has a different purpose from a steady replenishment program. Quantity affects material planning, setup assumptions, secondary operations, inspection, packaging and how tooling cost is evaluated across the program.
Do not inflate the forecast to make a project look larger. A credible range, together with what may cause demand to rise or fall, supports a more useful commercial discussion than an unsupported best-case number.
6. Decide Whether You Need Parts Only or a Broader Manufacturing Scope
Be explicit about the boundary of the request. Some teams need molded plastic parts only. Others need tooling and molding, additional purchased components, assembly, inspection and packaging preparation. Each scope requires different information and may involve different suppliers or work instructions.
For assembly, share a component list, assembly sequence, torque or fastening instructions where relevant, fit or functional checks, and an approved reference. For packaging, identify unit pack, labels, inserts, barcodes, carton quantities and destination requirements. These details should be reviewed before production rather than added after the unit price is assumed.
CHILLIX can coordinate injection molding, assembly and packaging when they are part of the agreed project scope. Capability and factory fit are confirmed for each project.
7. Understand What Happens Before Production
Moving from a prototype into production is a sequence of controlled decisions. The exact sequence varies, but a practical route usually looks like this:
- 01Requirement review
- 02DFM review
- 03Tooling scope
- 04Tooling
- 05T1 samples
- 06Feedback & revisions
- 07Customer approval
- 08Production & follow-through
A manufacturability review should surface questions about geometry, material, tooling, inspection and assembly before those questions become production problems. The tooling scope then defines what is being built, what is included and how samples will be produced.
A T1 sample is an early part from newly completed tooling. Completing a mold is not the same as approving production. Samples should be reviewed against agreed dimensions, fit, function, appearance and other requirements. Feedback may lead to process adjustments, tooling revisions or another sample round before customer approval.
After approval, production can proceed under the agreed scope, followed by assembly, inspection and packaging where applicable. CHILLIX's How It Works process explains how project information is organized through these checkpoints.
A Practical Checklist Before Requesting an Injection Molding Quote
- Product evidence: CAD/STEP file, drawing, prototype or physical sample
- Part function: what the part must do and how it is used
- Critical dimensions: interfaces, fit points and controlled features
- Material: preference or required performance characteristics
- Quantity: expected first production range
- Repeat demand: annual or ongoing volume, if known
- Appearance: color, texture, transparency and cosmetic areas
- Assembly: other components, work instructions and checks
- Packaging: unit pack, labels, inserts and carton requirements
- Destination: country and intended market
- Timing: desired sampling and production windows
- Requirements: applicable testing or documentation, if known
Frequently Asked Questions
Can I contact an injection molding supplier if I only have a prototype?
Yes. A working prototype can support an initial manufacturing review when you also explain what the part must do, the expected quantity and any important interfaces. CAD files and drawings help the review progress, but a perfect engineering package is not always required for the first conversation.
Do I need to know the exact plastic material before requesting a quote?
No. A material preference is useful, but it is also reasonable to describe required rigidity, impact resistance, transparency, appearance, temperature exposure and intended use. The final resin should be reviewed against the specific part and project requirements.
Do I need to order 10,000 units for injection molding?
There is no universal quantity that fits every injection molded part. The practical first production quantity depends on the part, material, tooling strategy and project economics. Share a realistic target and any expected repeat demand so the manufacturing route can be reviewed.
What is a T1 sample?
A T1 sample is an early part produced from newly completed tooling. It is reviewed for dimensions, fit, function, appearance and other agreed requirements before production approval. Revisions or further trials may be needed after the first sample.
Can an injection molding supplier also handle assembly and packaging?
Often, yes, when assembly and packaging are included in the agreed project scope. The supplier needs the component list, work instructions, inspection points, labels and packaging requirements to review what can be coordinated.
What information makes an injection molding quotation more accurate?
Useful inputs include a CAD file, drawing, prototype or sample; part function; critical dimensions; material or performance requirements; quantity; appearance needs; assembly and packaging scope; destination market; timing; and any known testing or documentation requirements.
A practical next step
Have a defined part or working prototype?
Share the drawing, CAD file, prototype, sample or reference you already have, along with your expected quantity and what the part needs to do. CHILLIX can help identify the manufacturing questions that need to be resolved before tooling and production.
Discuss Your Project